
1. Create a server
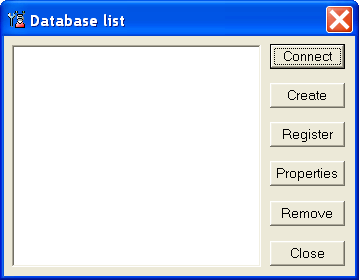
Start the admin console and open the database creation form (from the menu select Server and then the Server) and press the Create button.

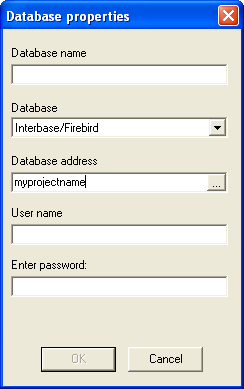
Fill the form as shown below. You should create a separate Firebird user for MyTracker to use to connect to the database, instead of default Firebird database user/password combination (sysdba/masterkey). In the Database address field you should specify your connection details for the database server. This is in the format of server : database (yourserver:c:\myprojectname.fdb). Server is the name of the server machine, it's IP address or localhost if you connect locally. Database is the path to the Firebird database (.fdb) file that will store the actual data.
If you start with entering database address and you type only the name. It will expanded into the install directory.

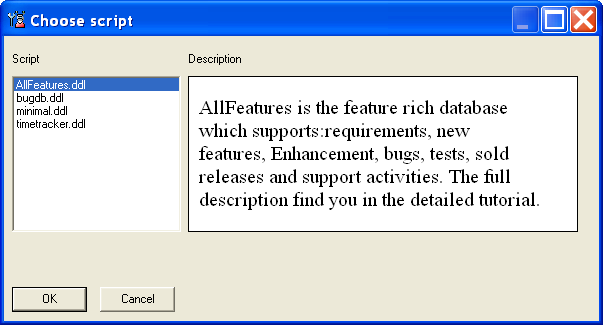
Press the OK button - this brings up a second dialog where you must select one configured databases. Select the AllFeatures.ddl and press ok button.
2. Customize the issue fields
After creating the database, myTracker created the database from the script file. MyTracker manage variety of entities which are names issues. Attribute of a issues is a issue fields. The created database supports these kind of entities and fields.
MyTracker is already functional but you have in your product probably no modules names Module1 and Module2. As in the database. So we need to rename these modules.
How to do it? Very ease expand in the database tree the issue fields node and double click on MODULE(ID:12, Type: Choice list) node. It opens this dialog.
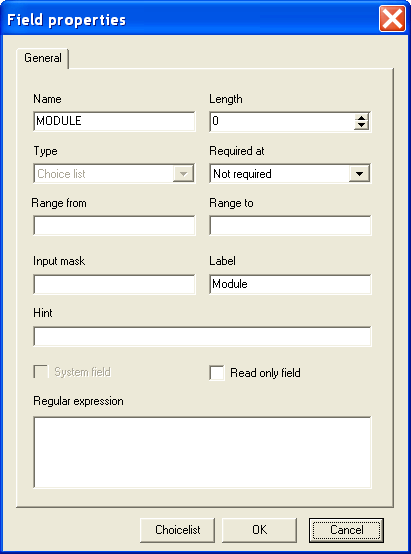
Click on choicelist button.

Click on Module1 item in the left list. And change the name to your desired name as I did.
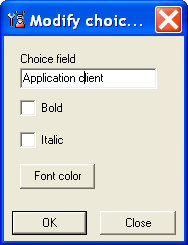
The same for Module2. I wrote Application server.
3.Rename users
MyTracker has already added to the database two users User1 and User2. If you want to change the names expand in database tree the users node and click on the User1 and set your users name and email address if you have any.

Now we exit the admin console and start the client console!
4. Work in the client console
We created a database file in our install path and we use the embedded firebird database. It runs as gds32.dll. Which reside along the exe file. In such cases the client finds this file and automaticaly register it.
To log into the myTracker server select Connect to server from the Server menu of the Client console. This brings up a list of servers:
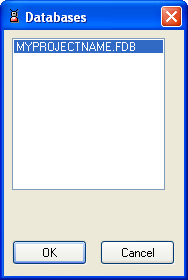
Select the desired server and press ok button. This will bring up the login screen:

Select your user name from the drop list, enter your password and press the OK button. The client console will then connect to the server and bring up a screen similar to this:
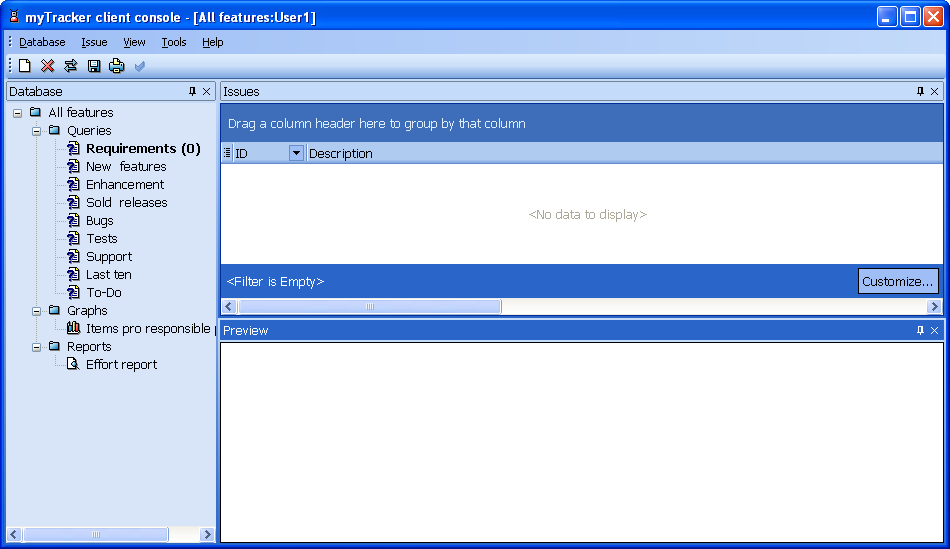
The actual entries presented will depend on what set-up you have made in the myTracker admin Console. The following items appear in the menu tree on the left:
This will open the requirements properties dialog.

Press the OK button and you have your first issue!
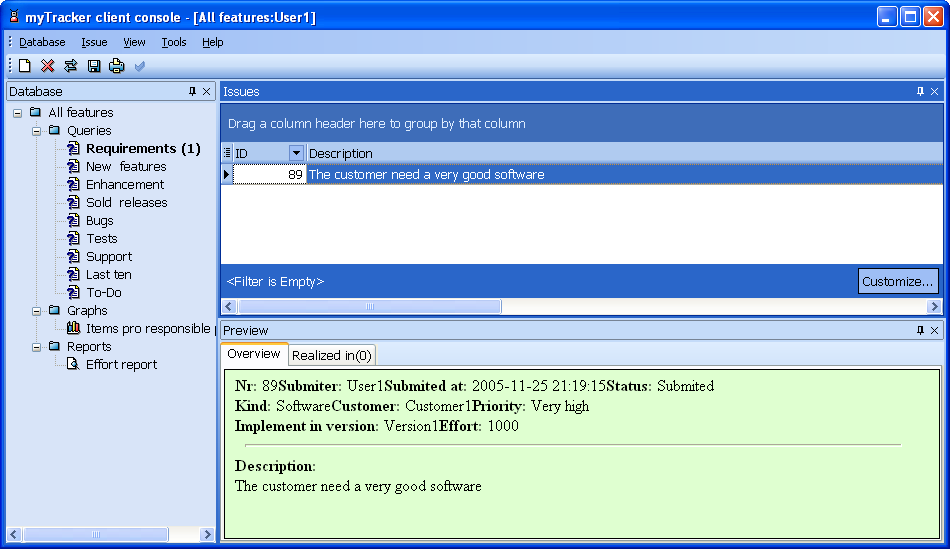
Now every other users see our first issue. If we want to add some other kind of issue we must first click on the appropriate query.
More information about advanced features find you in detailed tutorial.